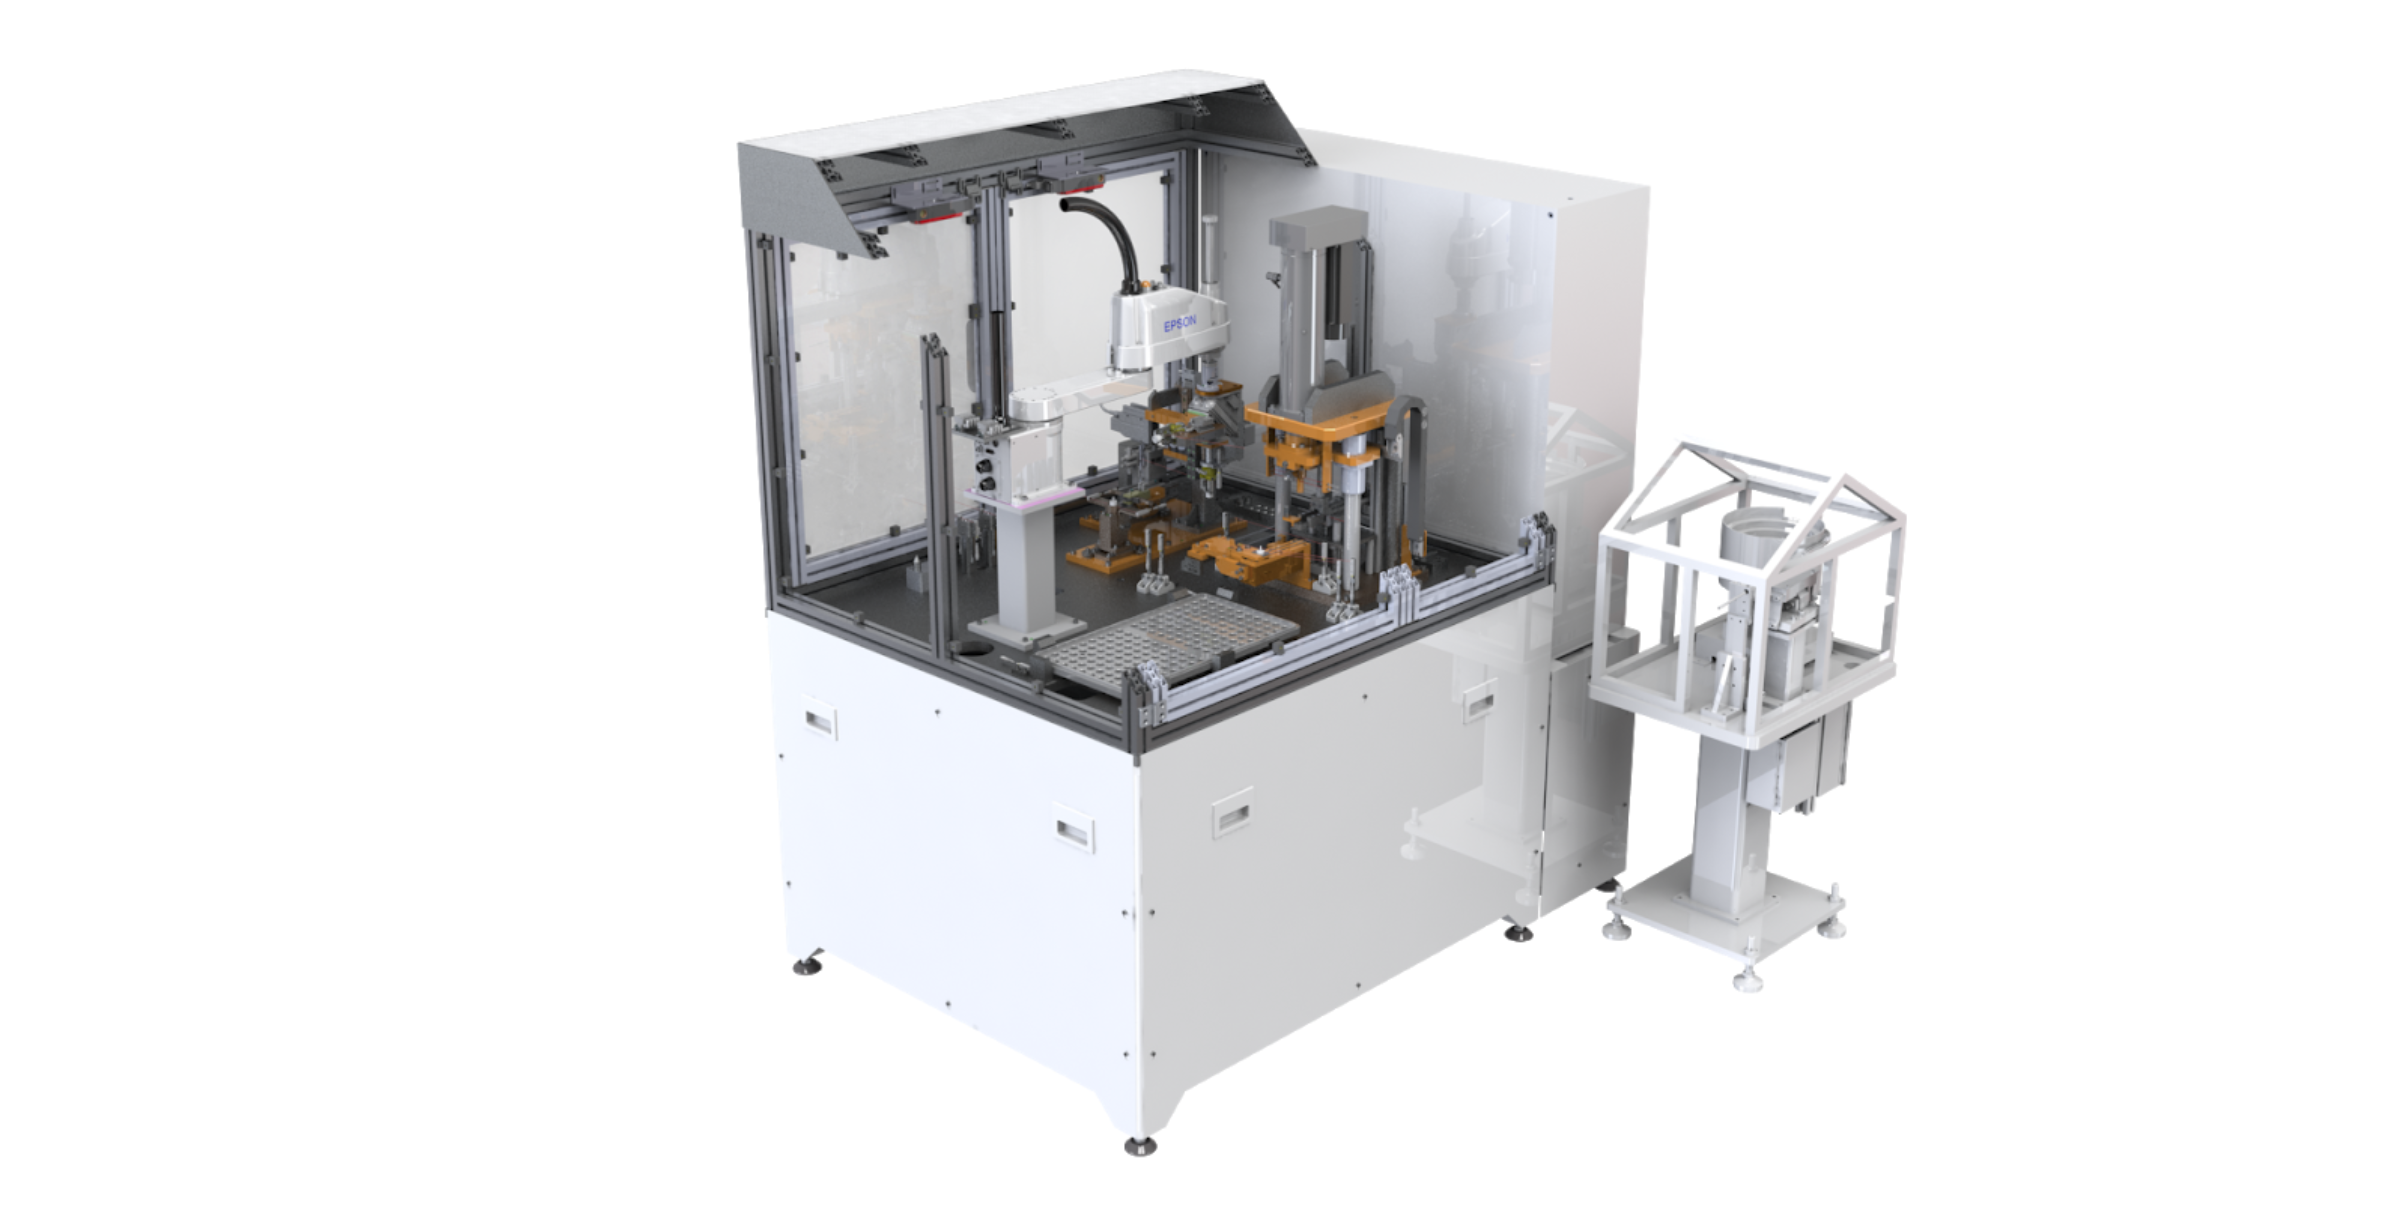
Armature Press and Runout Measurement
Project role and responsibilities
Lead Mechanical Engineer- Cycle sequence chart
- Complete mechanical design
- Pneumatic system component selection and schematics
Overview
Cycle time: 9 seconds
Project timeline: 26 weeks
Robot EOAT payload: 4.8-kg
A stand-alone station to supplement production capacity of armatures for electric motors. Operator loads a tray of armatures onto a holding nest within the station. Pins are auto fed into the station by a vibratory bowl feeder. Upon auto cycle start, the robot maneuvers to a sequential tray position to pick an armature and transfer it into process module 1. Here a pin is blow-fed and positioned onto the armature before being pressed to a hard position. This position establishes the pin protrusion from the armature. When complete, the assembled armature is transferred by robot to process module 2 for runout measurement of the pin relative to the armature. This is performed by positioning and clamping the pin onto a roller assembly. A servo motor rotates the rollers as an optical micrometer scans a section of the armature body to determine runout amount relative to the pin (acceptable runout is +/- 0.02mm). If determined NOK, the armature assembly is transferred by robot to an reject chute, otherwise an OK assembly is transferred back to an open tray position. This operation is repeated until the entire tray of armatures has been processed.

